


Новое поступление

VG009 голосовой модуль MP3 аудио плеер вещания Micro:bit | Обустройство дома
1 960,06 - 2 450,07 руб.

2-трубчатый вентилятор блок термостат Wi-Fi TUYA для FCU работает с Alexa Google home |
3 043,57 руб.

Surge Protector Protective C20-2P 10KA~20KA 220V AC House Low-voltage Arrester Device | Обустройство дома

Термостат беспроводной штекер термостат Rf разъем отопления отопление

BSIDE Инфракрасный цифровой Бесконтактный ИК инфракрасный Лоб термометр лазерный
2 804,65 - 5 218,96 руб.

Programmable Plug in Thermostat EU Socket 16A Electric Heating Underfloor Room Temperature Controller 94PC | Обустройство дома
1 484,50 руб.

LCD Gas Boiler Thermostat 3A Weekly Programmable Room Heating Temperature Controller 86x86mm ME83L High Quality and Brand New |
726,65 руб.
Характеристики
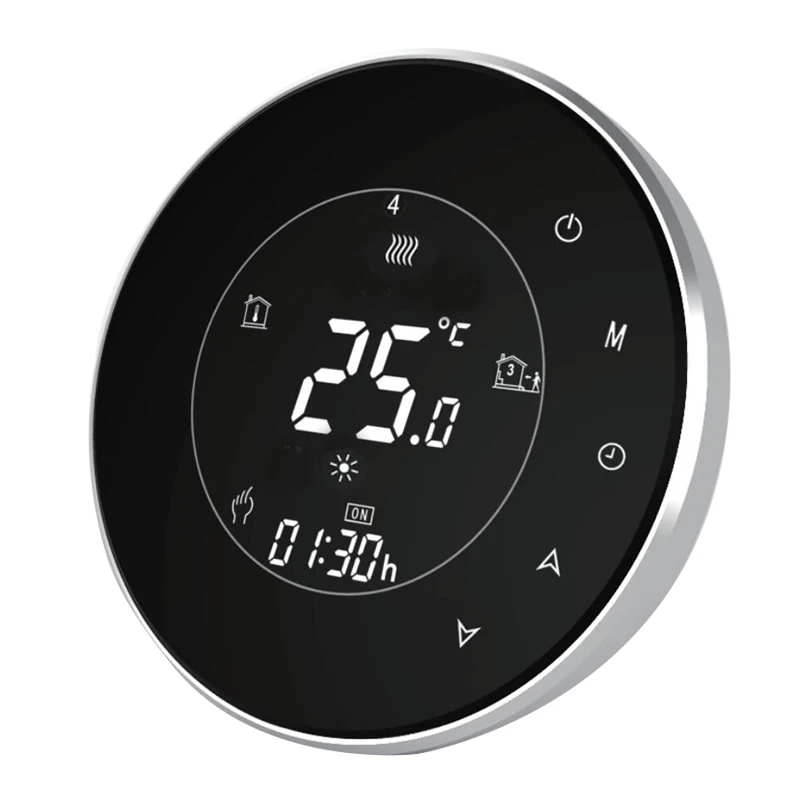
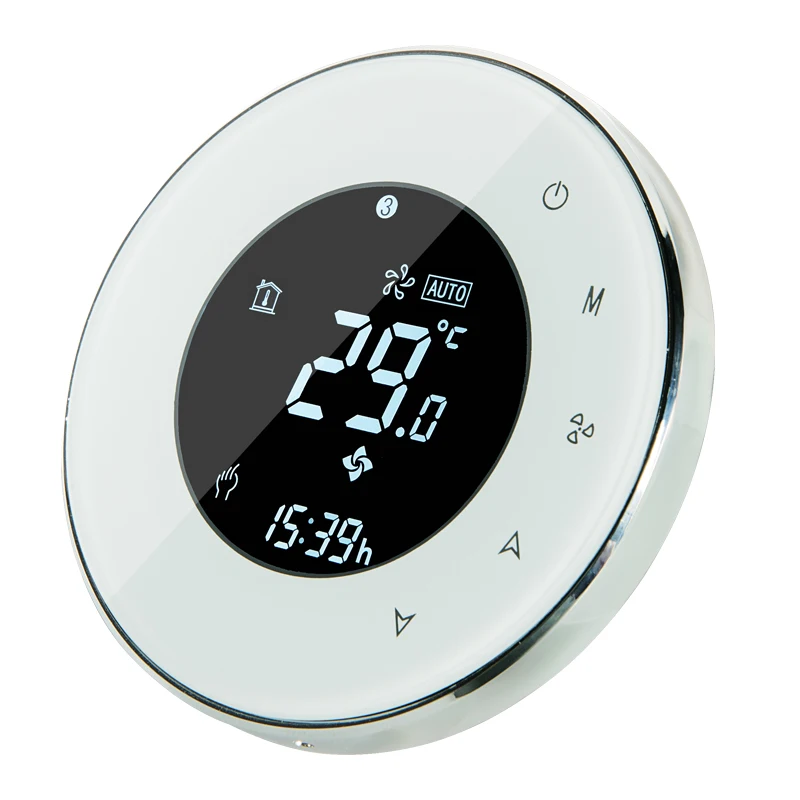
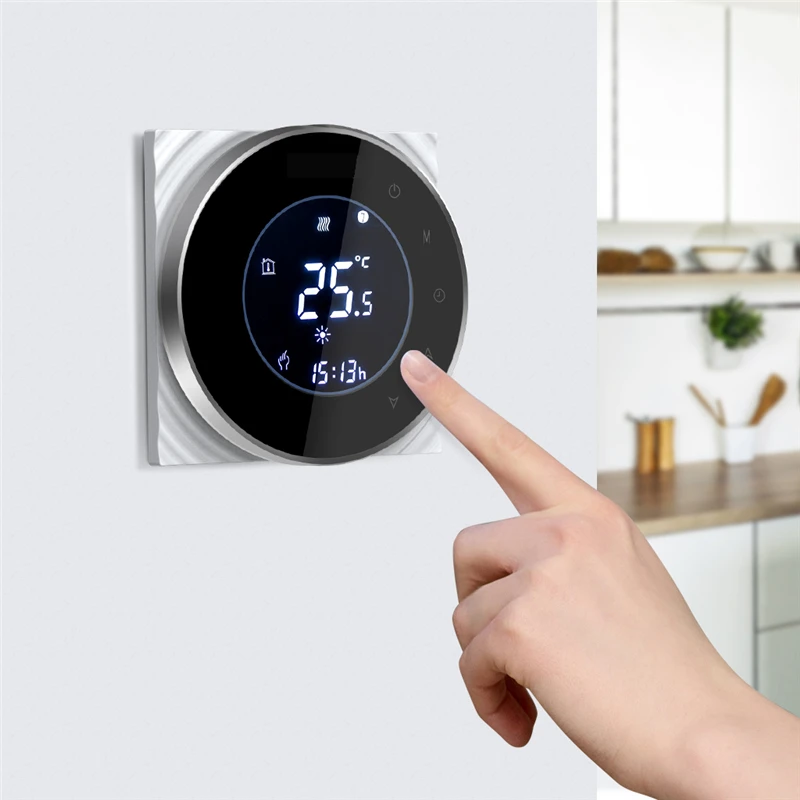
BHT-6000-GA LCD Touch Screen Thermostat Temperature Controller Backlight for Water floor Heating 3A Weekly Programmable | Обустройство
История изменения цены
*Текущая стоимость уже могла изменится. Что бы узнать актуальную цену и проверить наличие товара, нажмите "Добавить в корзину"
| Месяц | Минимальная цена | Макс. стоимость | Цена |
|---|---|---|---|
| Mar-19-2026 | 0.80 руб. | 0.75 руб. | 0 руб. |
| Feb-19-2026 | 0.78 руб. | 0.40 руб. | 0 руб. |
| Jan-19-2026 | 0.13 руб. | 0.82 руб. | 0 руб. |
| Dec-19-2025 | 0.78 руб. | 0.62 руб. | 0 руб. |
| Nov-19-2025 | 0.71 руб. | 0.37 руб. | 0 руб. |
| Oct-19-2025 | 0.37 руб. | 0.63 руб. | 0 руб. |
| Sep-19-2025 | 0.90 руб. | 0.73 руб. | 0 руб. |
| Aug-19-2025 | 0.9 руб. | 0.68 руб. | 0 руб. |
| Jul-19-2025 | 0.22 руб. | 0.93 руб. | 0 руб. |
Описание товара


 |  |  |
 |  |  |
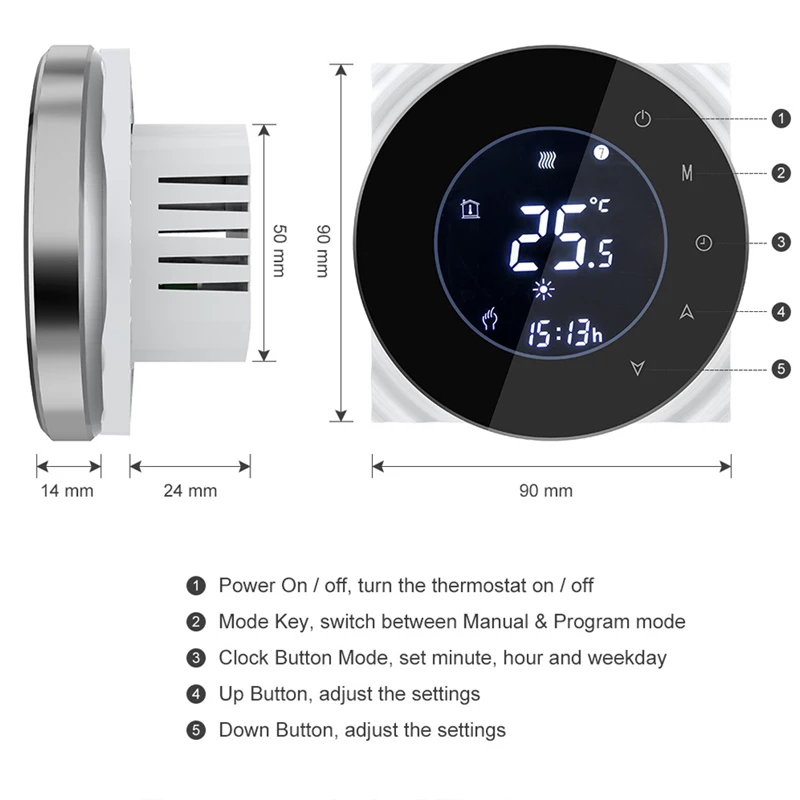
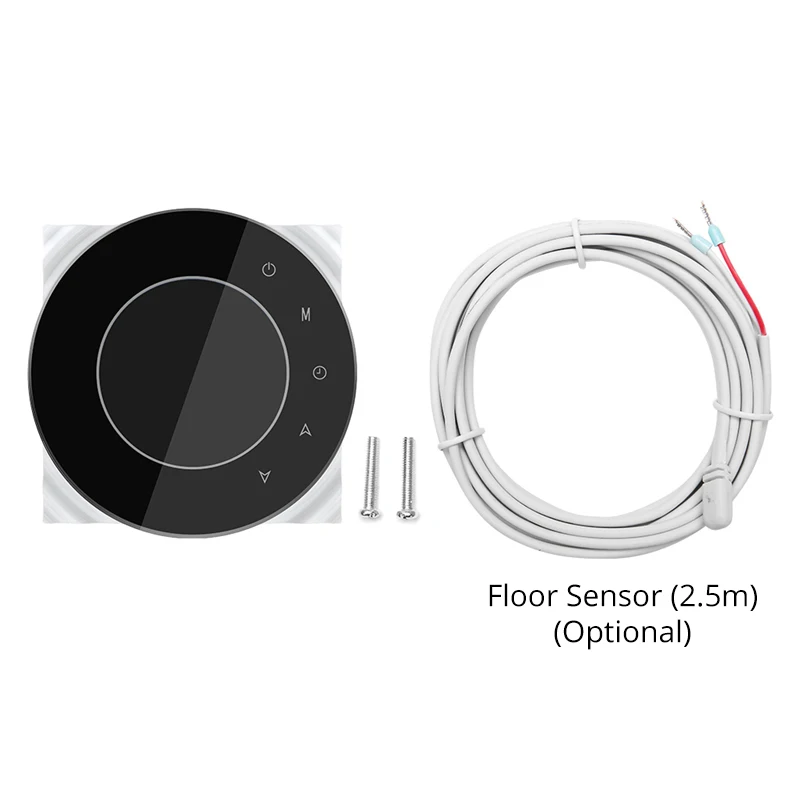
LCD Touch Screen Thermostat Temperature Controller Backlight for Water floor Heating 3A Weekly Programmable
by MORNING GROUP

The manual in English:
//drive.google.com/file/d/1CFuOf5fH82ta3tCesjvIvK5b7yT6u_BV/view


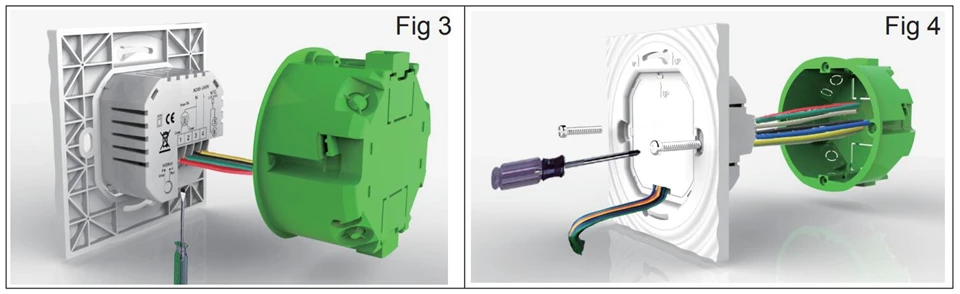
| INSTALLATION |
| Your thermostat is suitable foe installation within a standard 86mm pattress box or European 60mm pattress box |
| Step 1. Keep power off. See Fig 1 |
| Step 2. Remove the mounting Plate by rotating the LCD part. See Fig 2. |
| Step 3. Connect power supply, load into the appropriate terminals. (see "Wiring your thermostat" for details and Fig 3). |
| Step 4. Fix the mounting plate into the wall with screws in the box. See Fig 4. |
| Step 5. Fasten body of the thermoatat and the mounting plate through rotating. See Fig 5. |
| Step 6. Installation complete. See Fig 6. |


Смотрите так же другие товары: